MoveIt Setup Assistant
This article shows how to configure a custom arm in MoveIt.
1. Load the model
Make sure that your moveit is correctly configured before moving on the turorial. And this article is mainly adapted from ROS MoveIt tutorial, but I configure a flexiv robot not a franka-panda.
First, use the following command to open the moveit setup assistant GUI.
1 | roslaunch moveit_setup_assistant setup_assistant.launch |
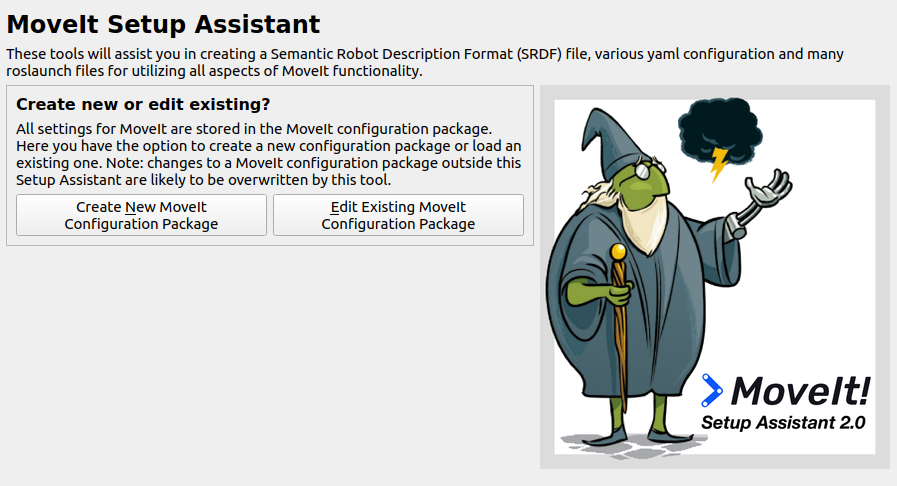
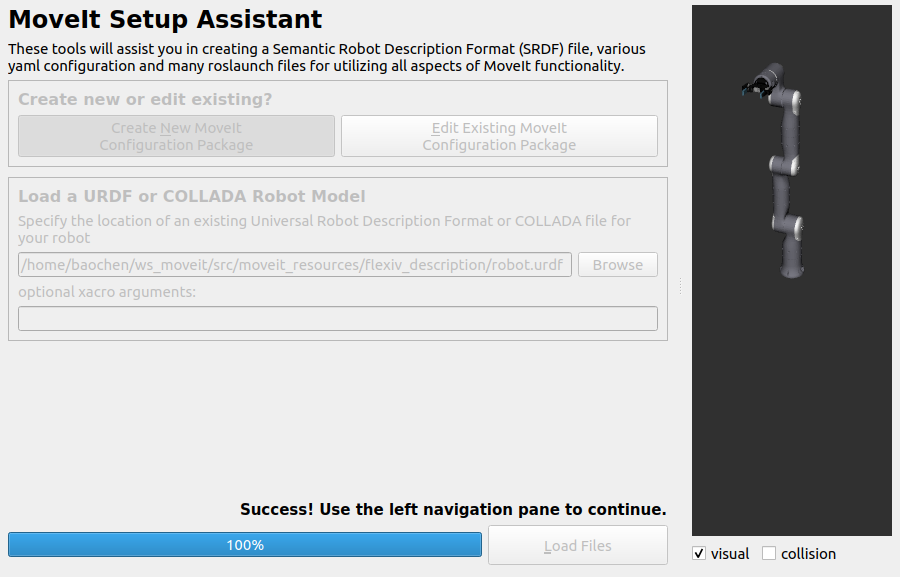
Press “Create New MoveIt Configuration Package”, and choose the .urdf file.
After importing the urdf model, you can check the robot model in the right. If there something wrong, like missing part, or some red error shown in the bash, try to check the correctness of the urdf model. Those urdf models that are not following the ROS conventions can not be correctly processed by the MoveIt setup assistant.
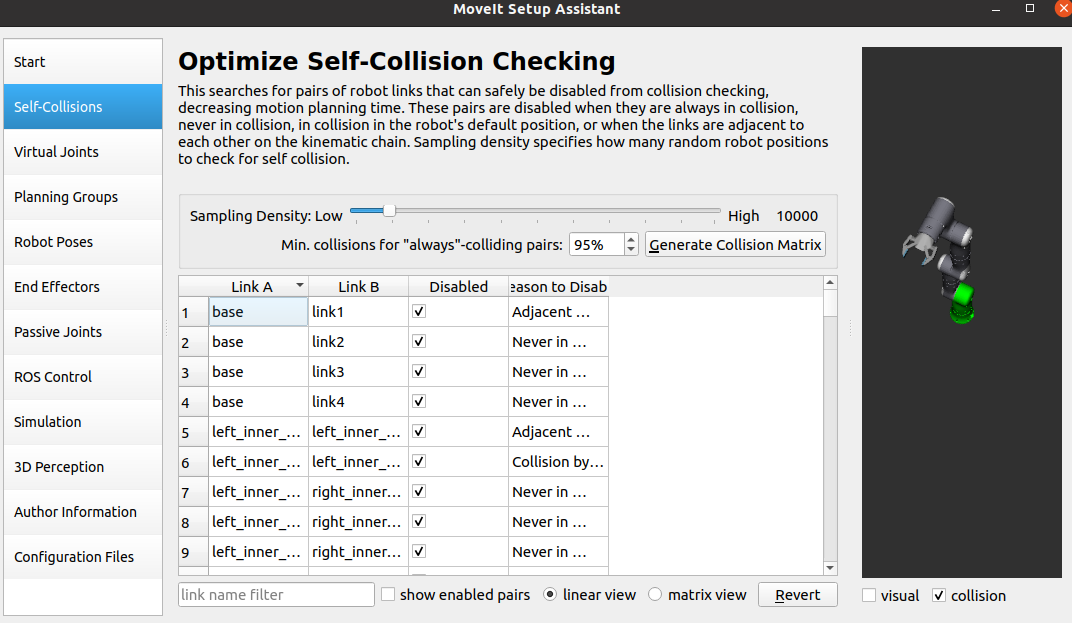
2. Compute the self-collisions matrix
Just press the button, if there are no special needs.
3. Define virtual joints
Virtual joints are used primarily to attach the robot to the world.
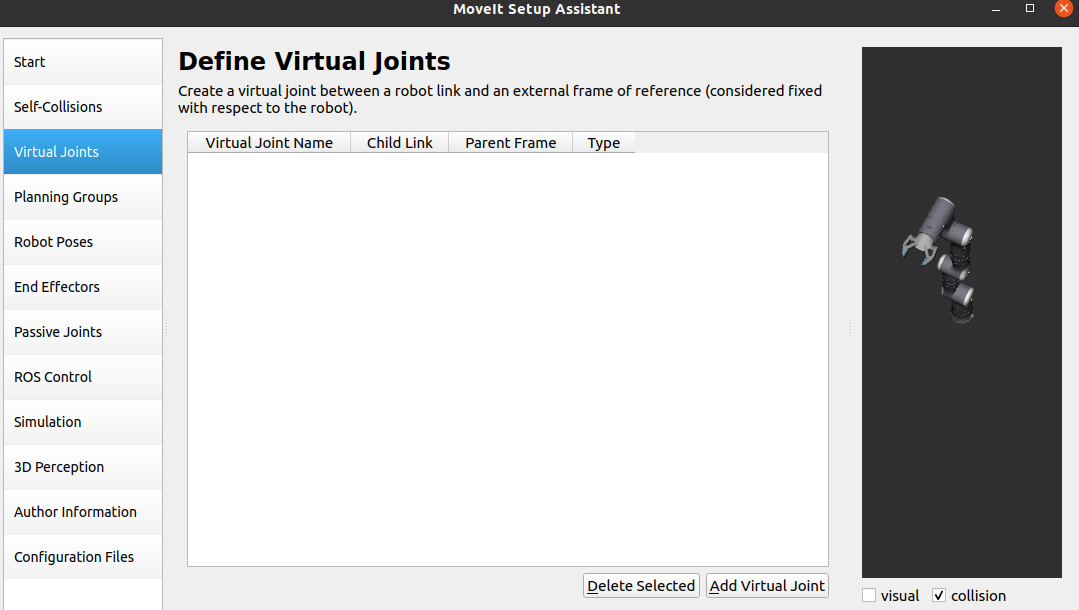
For our flexiv model, we can find in urdf there is a joint0 serving as virtual joints in the urdf,

so we don’t add one more joint here, but if we fail at last, we may return back here to move the virtual joint in the urdf.
4. Define planning groups
Planning groups are necessary for us to plan in MoveIt. Here we first define a planning group called arm, which use kdl_kinematics_plugin.
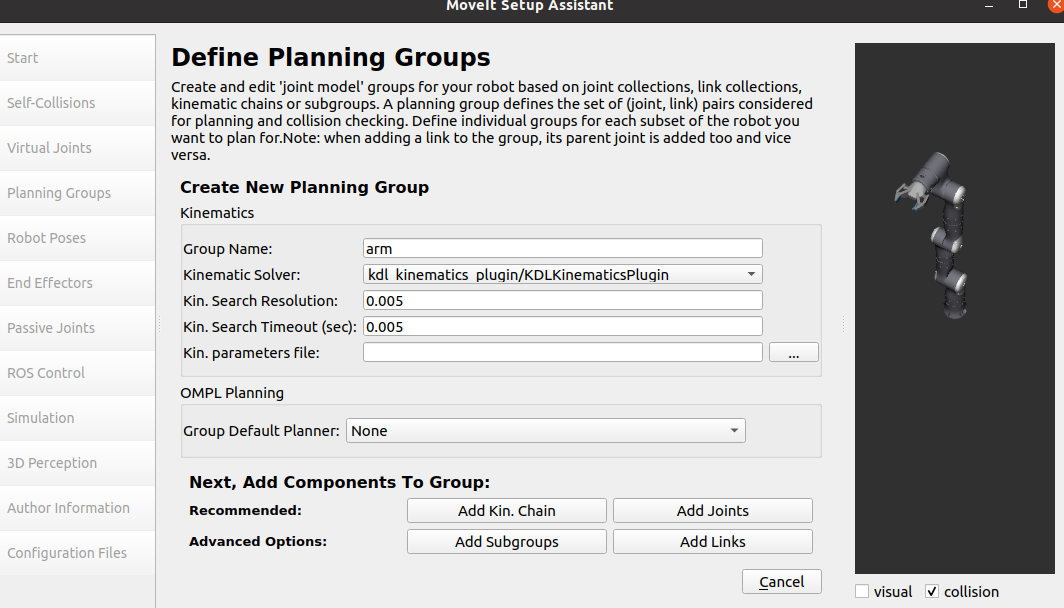
And we need to press “add joints” to configure the planning group.
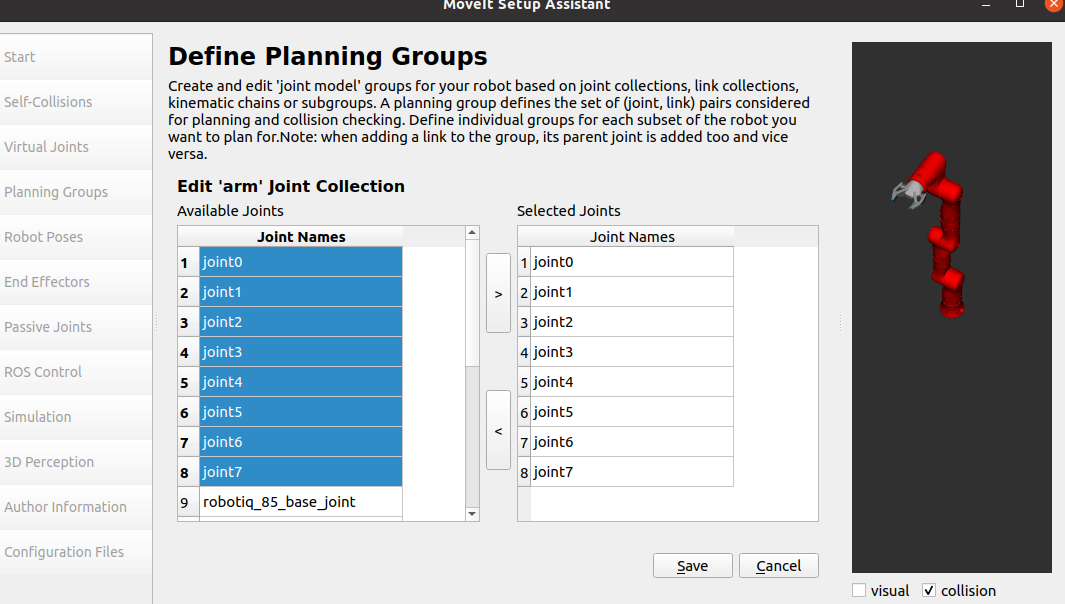
Joint 0 to 7 are added into the planning group, because later the kinematic solver will need the 7 joints to calculate solutions.
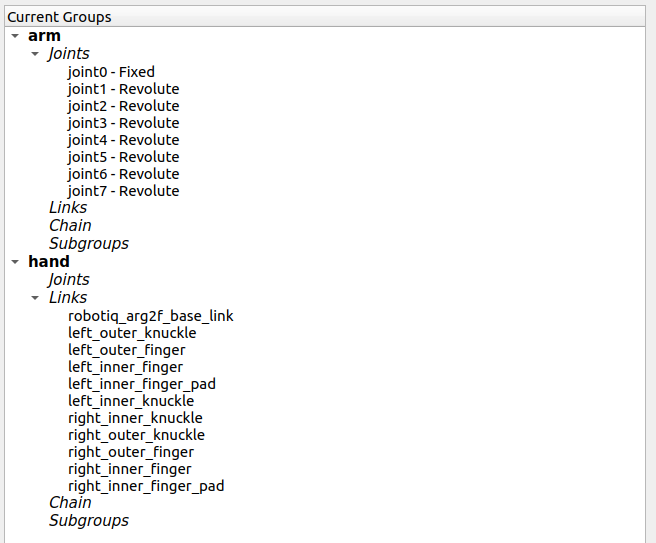
Next, we should configure a planning group called “hand”, with no ik solvers and all links contained by the gripper. The following picture is the result when we successfully configure both.
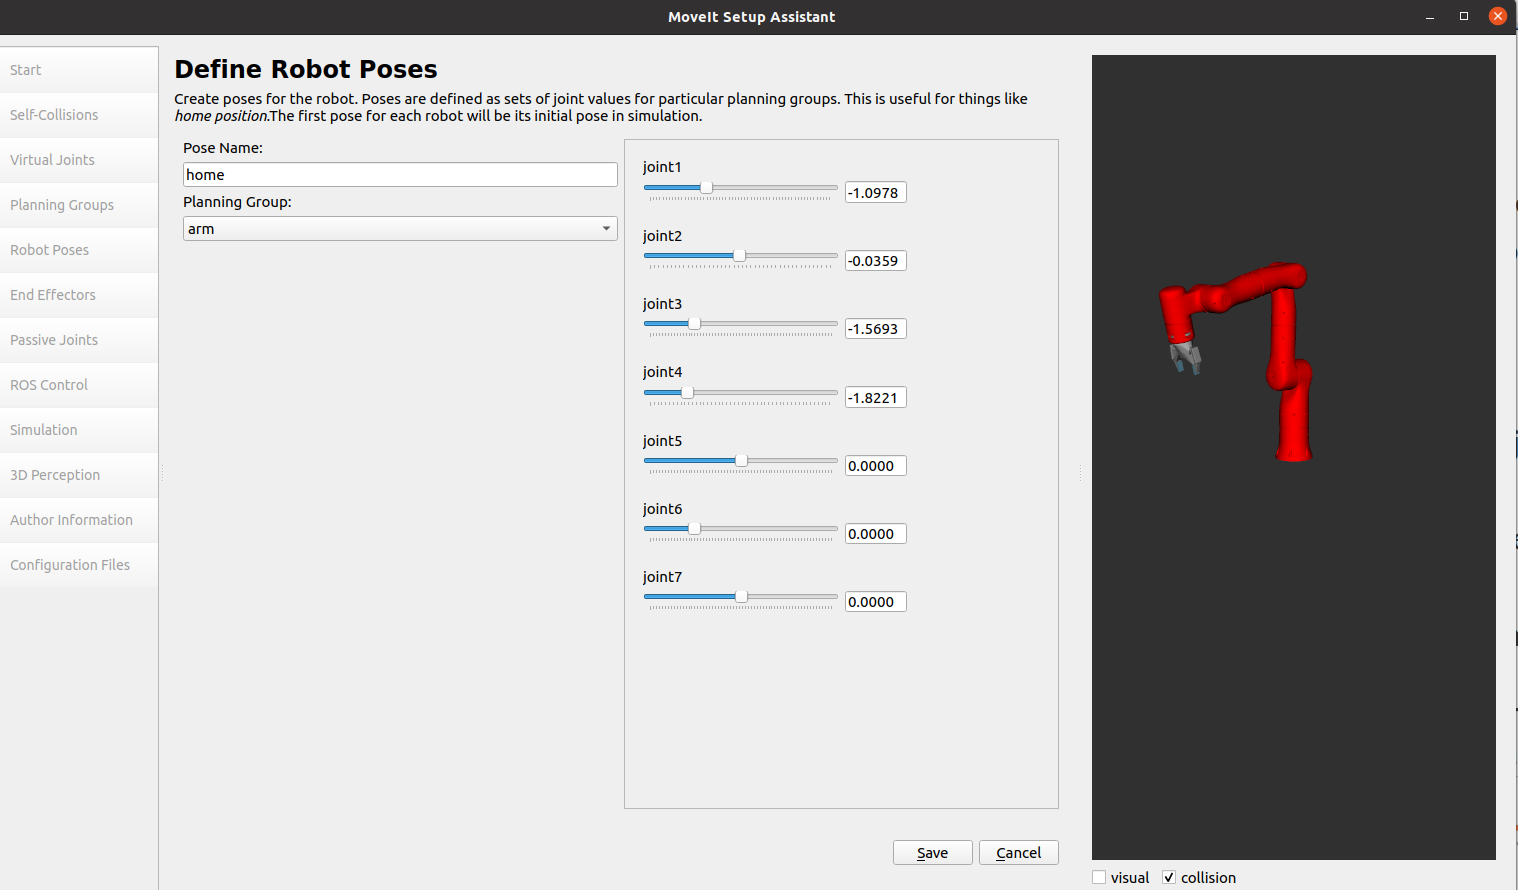
5. Define robot poses
We can add some useful configurations to use in future.
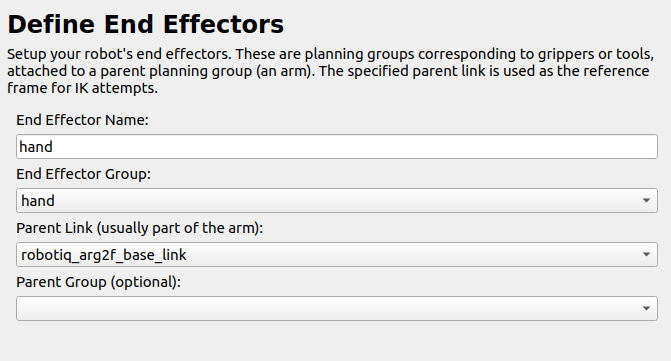
6. Define end effectors
7. Add passive joints
The passive joints tab is meant to allow specification of any passive joints that might exist in a robot. These are joints that are unactuated on a robot (e.g. passive casters.) This tells the planners that they cannot (kinematically) plan for these joints because they can’t be directly controlled. The Panda does not have any passive joints so we will skip this step.[1] Not quiet sure, I leave empty here as well.
8. 3D perception
Not used here.
9. Simulation with Gazebo
Gazebo is not used here.
10. ROS control
Clicking the “Auto add …”, then we have
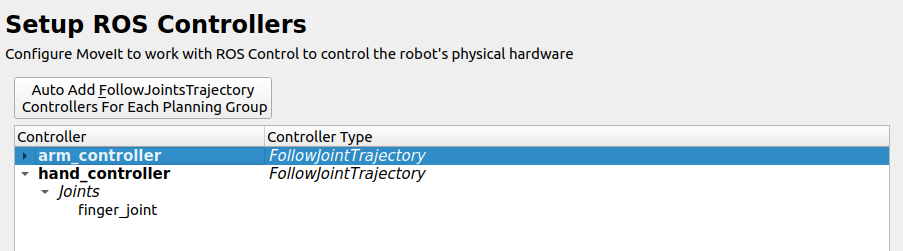
We should edit both one.
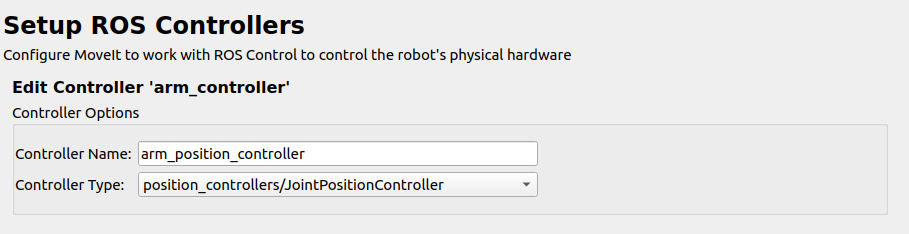
Change the first to a joint position controller.
11. Add author information
Do what it says.
12. Configuration Files
Just generate the package.
13. Visualize the robot in RViz
We can visualize the robot in RViz by the following command after building the newly created package.
1 | roslaunch panda_moveit_config demo.launch |
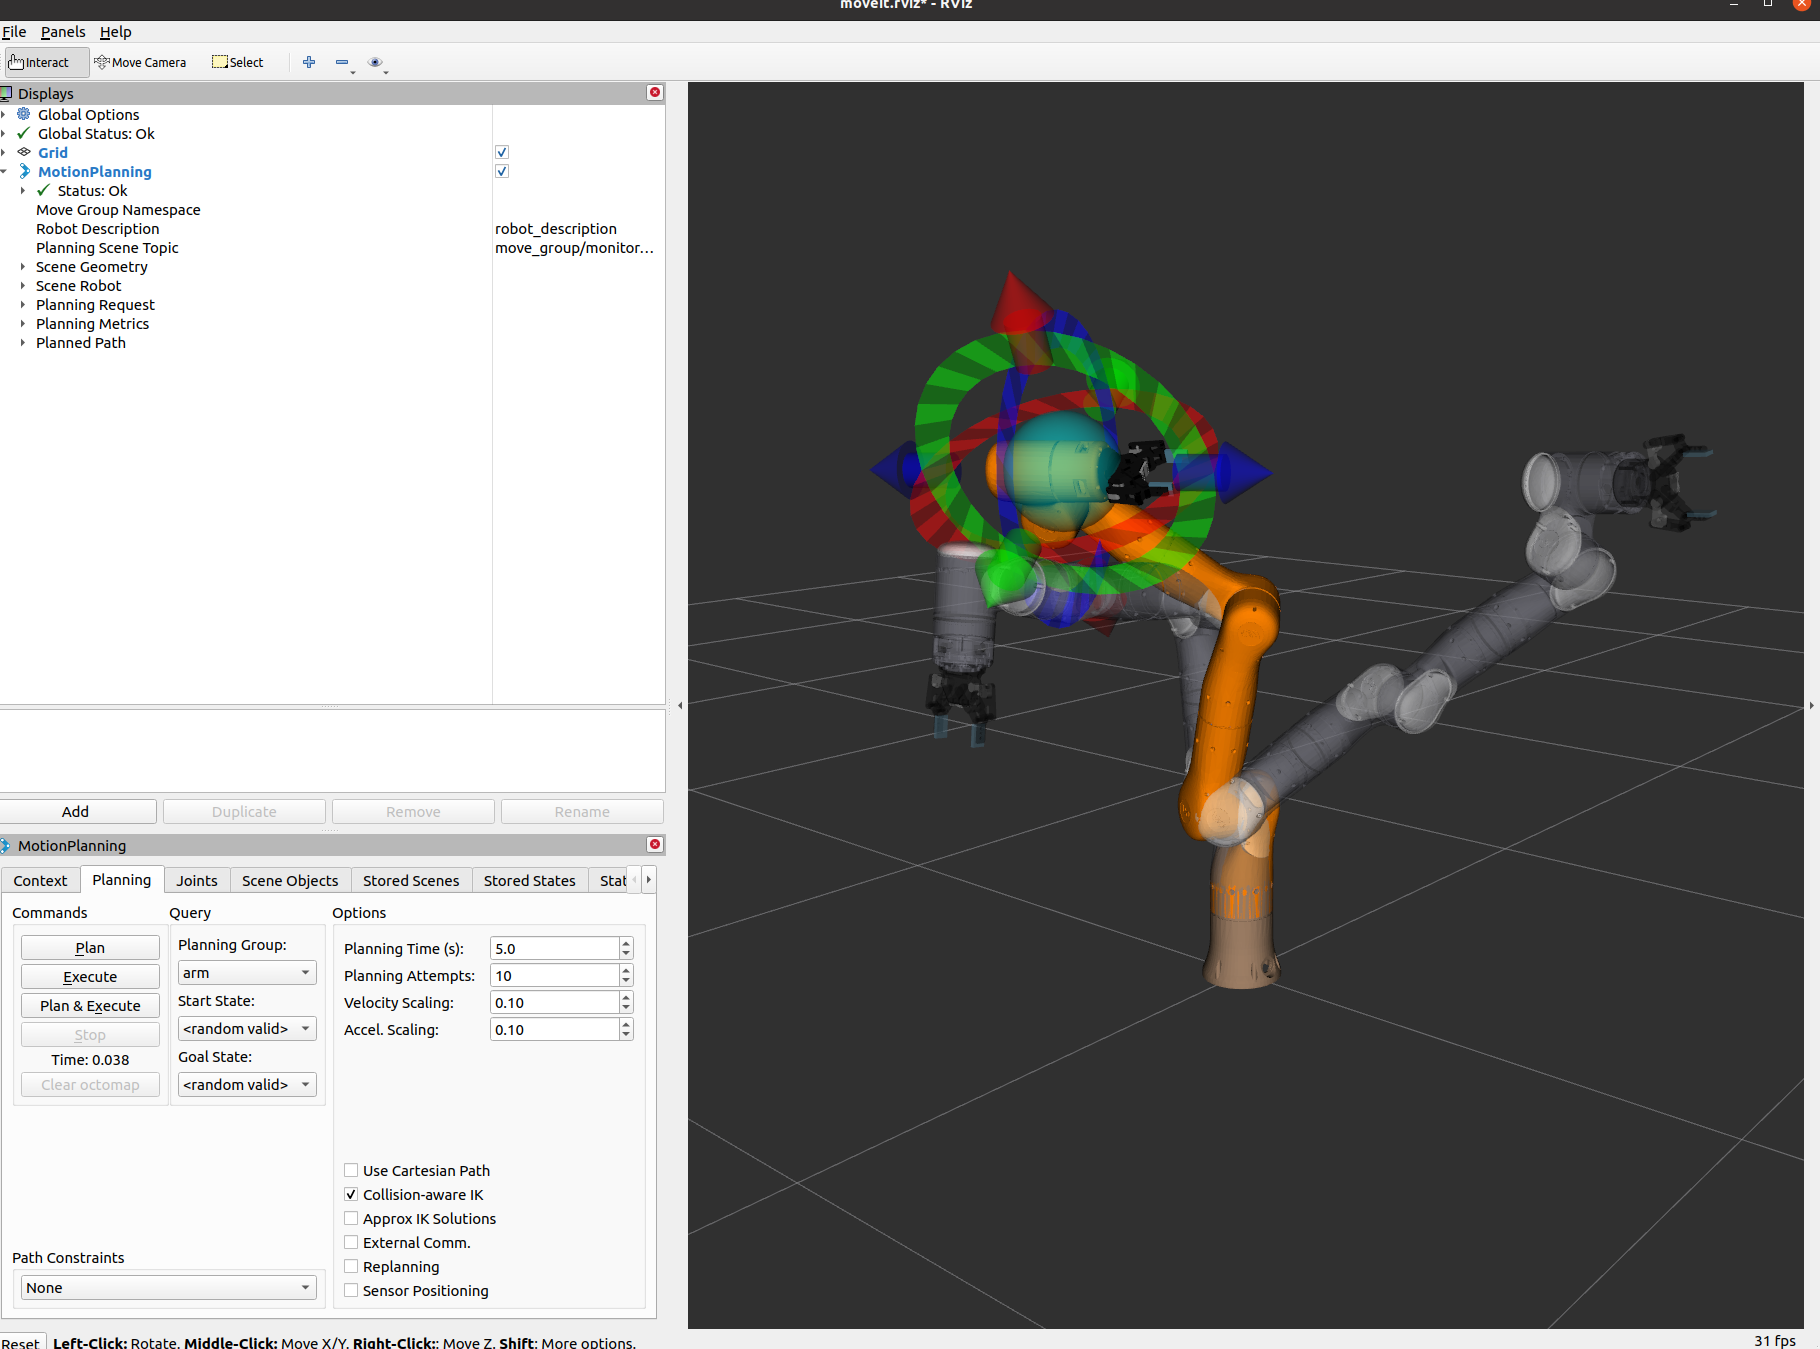
Everything seems to be in the right place. You can refer to RViz tutorial for more details.
MoveIt Setup Assistant